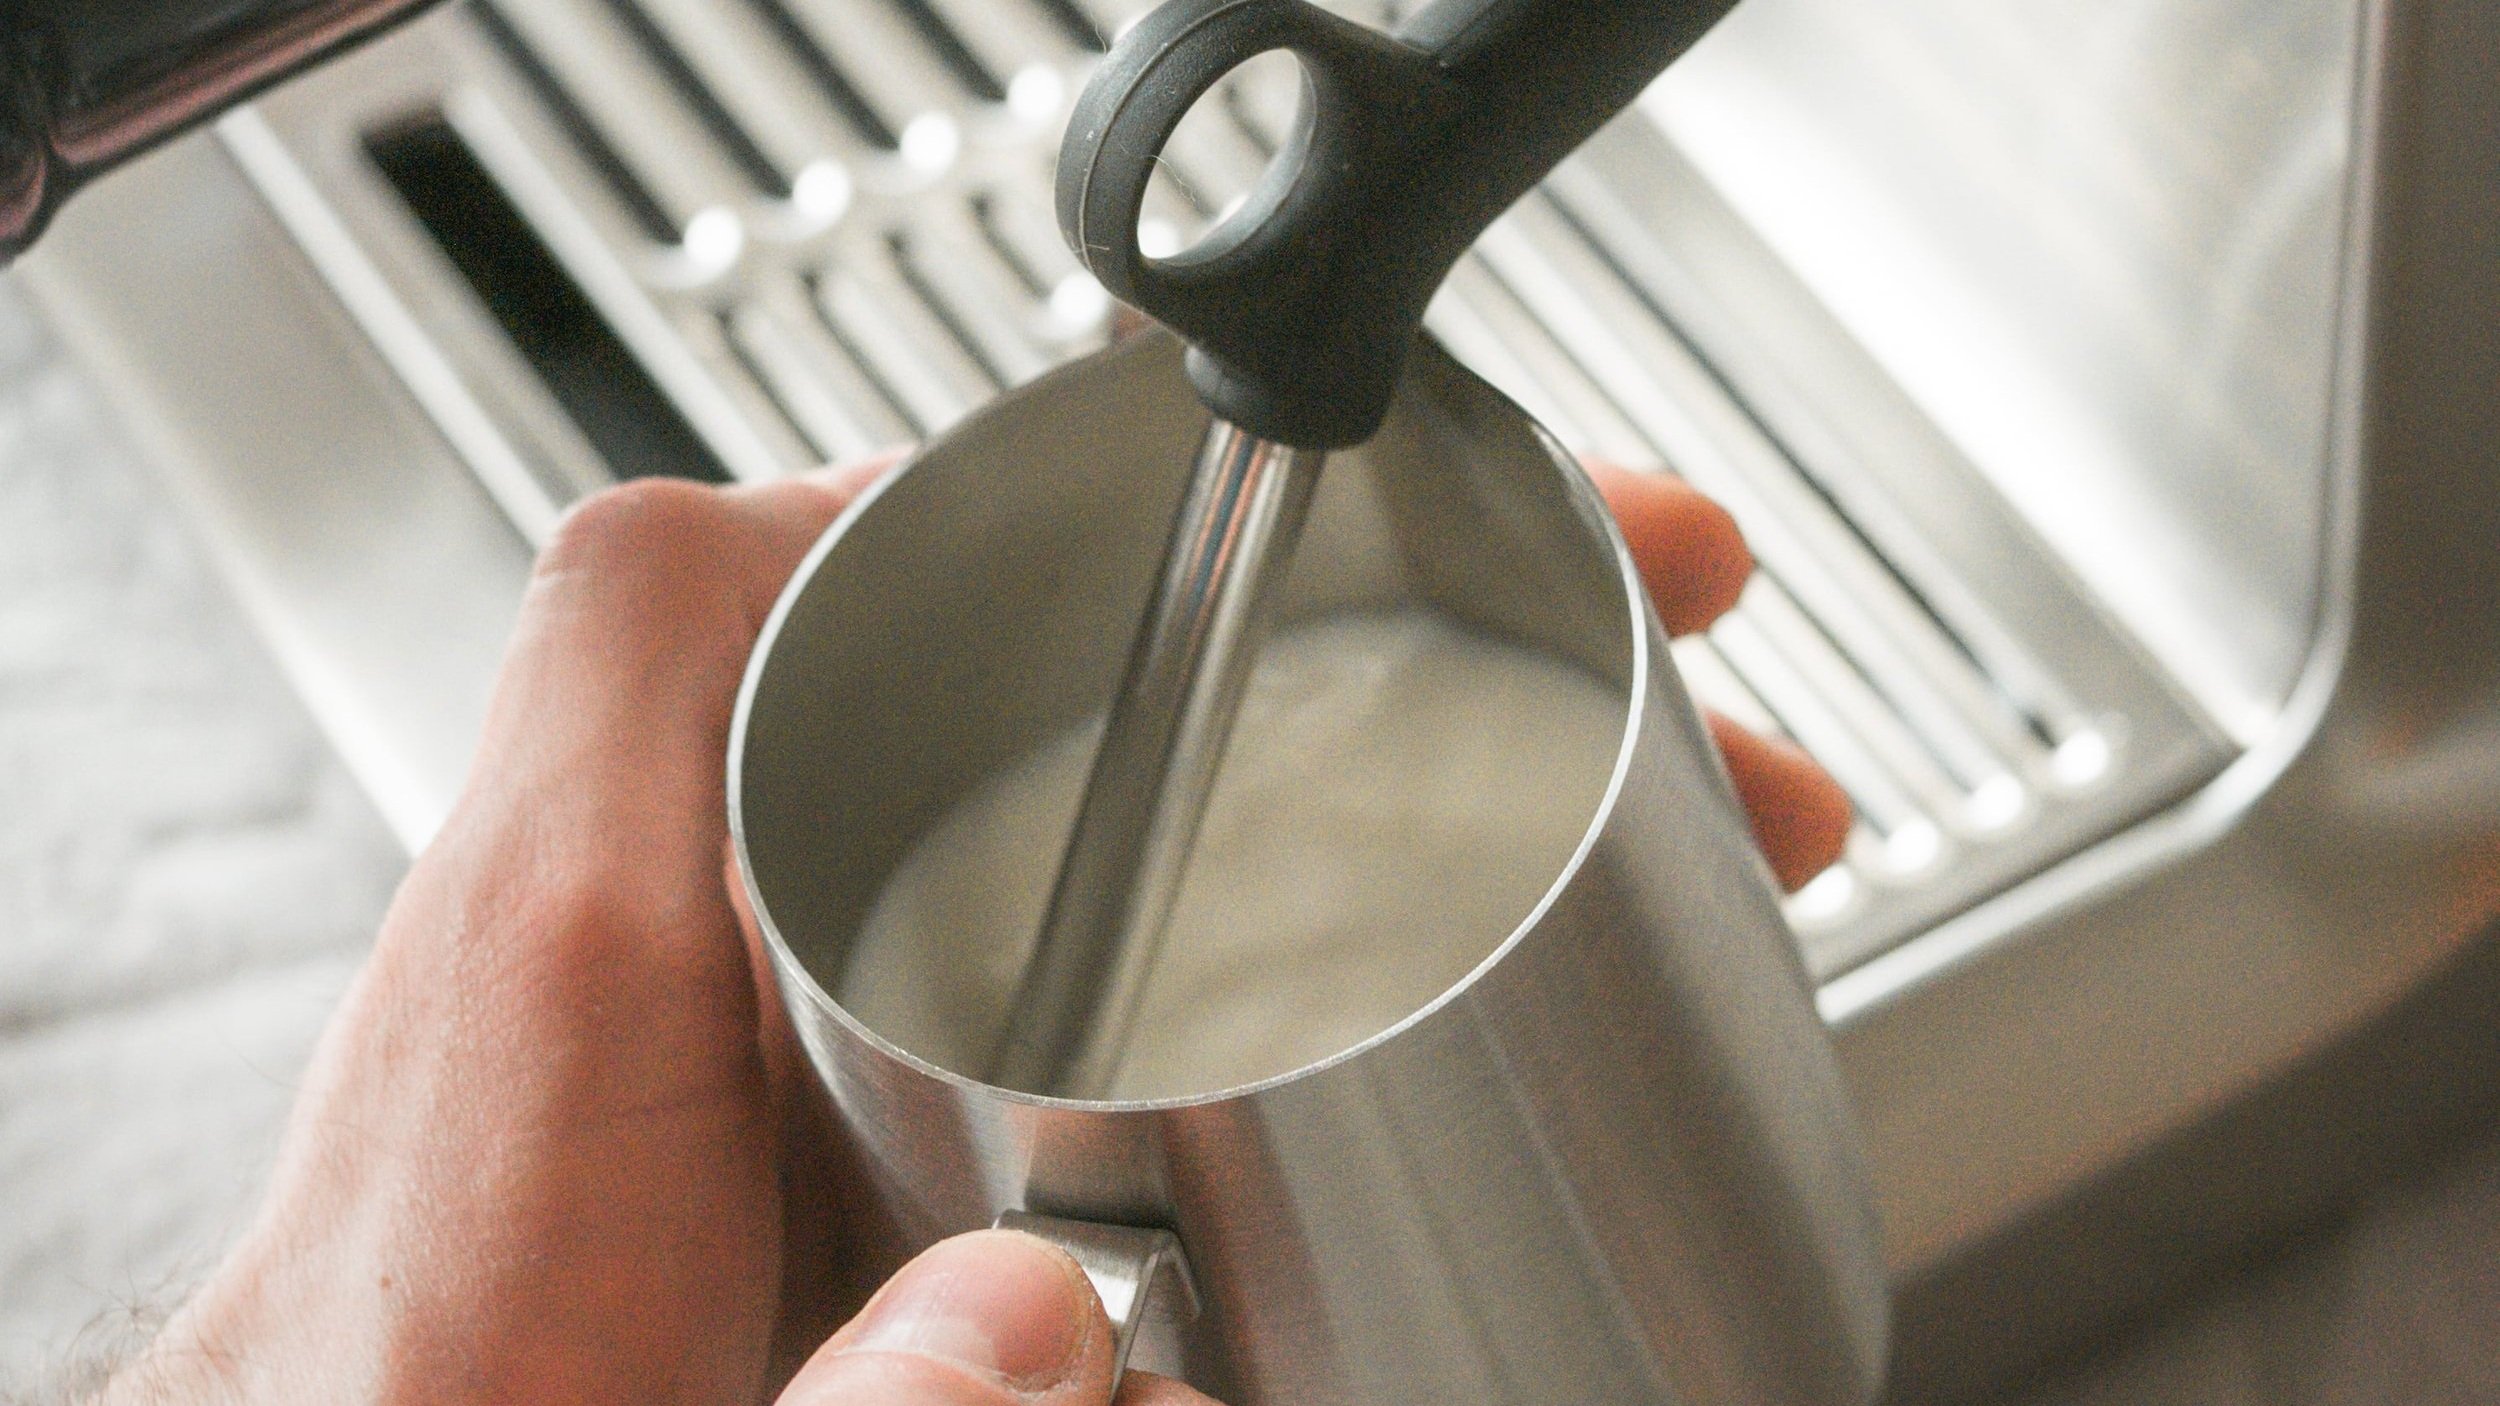
Steaming milk at home can feel a bit intimidating at first, but with the right techniques, it quickly becomes an enjoyable and rewarding part of crafting your favorite coffee beverages. Whether you're aiming for a smooth latte, a foamy cappuccino, or a bold macchiato, mastering milk steaming is crucial. The Breville Barista Express is an exceptional tool for achieving coffee shop-quality steamed milk in your own kitchen. This guide will walk you through each step, offering practical tips to get you started. Discover the advanced features and performance of this machine in our Breville Dual Boiler BES920XL review
The Importance of Steamed Milk in Your Coffee
Steamed milk is much more than just foam; it's a transformative element that takes your coffee experience to new heights. The steaming process creates microfoam—tiny bubbles that yield a smooth, velvety texture. Well-steamed milk enriches the flavor, enhances the texture, and creates a balanced, creamy profile that complements the bold espresso, making your drink more luxurious. Learn about the ease of use and innovation in our Breville Barista Touch Impress review
Preparing Your Breville Barista Express for Steaming
The Breville Barista Express, also known as the Sage Barista Express in the UK, is a favorite among home baristas for its versatility and ease of use. Its efficient steam wand allows you to achieve café-grade results with practice, enabling you to make your favorite drinks at home with ease. Compare these two popular models in our Breville Barista Express Impress vs Pro review

Tools You Need for Milk Steaming
Before diving into the process, make sure you have the following essentials:
Breville Barista Express with steam wand
Cold milk (whole milk for creaminess, or a barista-style oat/almond milk for plant-based options)
Stainless steel milk jug to help control temperature
Optional thermometer for monitoring milk temperature
Step 1: Preparing the Machine
To get started, ensure your Breville Barista Express is fully heated. The steam function light will indicate when it's ready, but giving it an extra minute allows the steam to reach the optimal temperature. Find out which machine suits you better in our Breville Barista Pro vs Express review
Next, purge the steam wand by turning the steam dial for a few seconds. This clears out any water that has condensed inside the wand, ensuring pure steam when you begin steaming. Explore the key differences between these premium machines in our Breville Oracle vs Oracle Touch review
Step 2: Preparing Your Milk
Fill your milk jug about one-third full with cold milk. Using cold milk gives you more time to work on the texture before the milk overheats. Whole milk yields the creamiest results, but plant-based drinkers should use barista versions, which are formulated for optimal frothing.
Step 3: Correct Positioning of the Steam Wand
Proper wand positioning is key to getting that velvety texture. Place the steam wand tip just below the milk's surface, angled at about 15-20 degrees. This position helps create a whirlpool effect, breaking larger bubbles into fine microfoam.
Tilt the jug slightly and position the wand close to the jug's edge to generate a consistent vortex, promoting even heat and foam integration throughout the milk.
Step 4: Steaming Your Milk
Turn on the steam knob and listen for a soft hissing noise, signaling that air is being incorporated into the milk during the "stretching" phase. Keep the wand tip just beneath the surface to avoid splashing while creating air.
After about 5-10 seconds, lower the jug to fully submerge the steam wand. This starts the "texturing" phase, where the milk heats up and the foam integrates. Allow the milk to continue swirling to ensure a glossy, silky microfoam texture.
The entire steaming process should take 20-30 seconds. If using a thermometer, target a temperature of around 150°F (65°C). If you're relying on touch, stop steaming when the jug becomes too hot to hold comfortably.
Step 5: Cleaning the Steam Wand and Perfecting the Texture
After reaching the desired texture and temperature, turn off the steam knob and clean the wand with a damp cloth to remove any milk residue. Purge the steam wand again to clear out any remaining milk.
To finish, tap the milk jug gently on the counter to break up any large bubbles and give the jug a good swirl to mix the milk. You want a shiny, silky appearance—this is your sign that the microfoam is ready for use.
Step 6: Pouring the Milk into Your Coffee
The way you pour steamed milk impacts both the presentation and balance of your drink. Begin with a slow, controlled pour, keeping the jug close to the surface to mix the milk evenly with the espresso. As you get closer to filling the cup, raise the jug slightly and pour more quickly to add the final layer of foam. With enough practice, you can even begin to experiment with creating latte art to add an artistic touch to your drinks.
Common Challenges and Troubleshooting Tips
Steaming milk is a skill that improves with trial and error. Here are a few common problems and how to solve them:
Milk Not Frothing Well: Make sure to use cold, whole milk or barista-grade alternatives, and keep the wand tip just below the surface to introduce the right amount of air.
Large Bubbles in Foam: Avoid over-aerating by keeping the steam wand just under the surface without splashing.
Overheated Milk: Use a thermometer or gauge by touch—stop when the jug feels too hot to hold.

Conclusion
Mastering how to steam milk on the Breville Barista Express is a rewarding skill that takes time and practice. With attention to the details of air incorporation and temperature control, you can consistently create silky, luxurious microfoam for café-quality beverages right at home. Enjoy the learning journey, and have fun crafting the perfect cup of coffee with your Breville. Happy steaming!
